
When developing your own photos, a darkroom is required. A darkroom allows a photographer to safely and easily print photographs from film. Most darkrooms are made for black and white photography since it is easier and less expensive to set up than printing color images from the film.
It costs $840 to build a darkroom, on average. However, depending on if you are purchasing new and used equipment and using an existing space or building your own it can cost between $360 – $1,500.
Because the cost of building a darkroom can vary so much, there are many considerations to think about. Saving money on the equipment and space will have the most impact on the overall cost. Before we dive into what you need to start your darkroom, here is a quick recap of what a darkroom is and what it’s used for, followed by money-saving tips, and other alternatives to an at-home darkroom.
What Is A Darkroom? What Is It Used For?
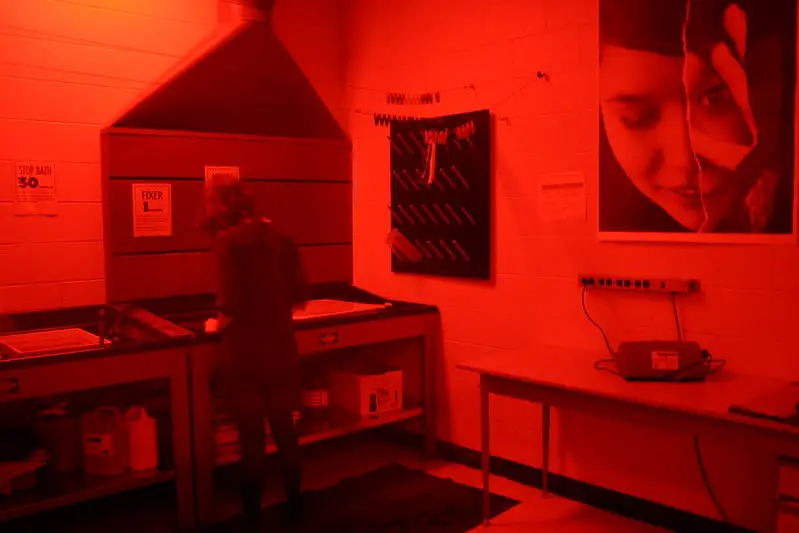
A darkroom is a dedicated space used to developing film, printing photographs from photographic film, and manipulating either film or prints. It is completely dark so it will not affect the light-sensitive film when placing in the development tank when used processing film or it can have a faint red or amber light since the black and white photographic paper isn’t affected by this wavelength (see this article for more about why red is used and what other colors can be used ). However, when processing photographic color paper it should be completely dark since color paper is sensitive to all color wavelengths.
What Do You Need to Start a Darkroom?
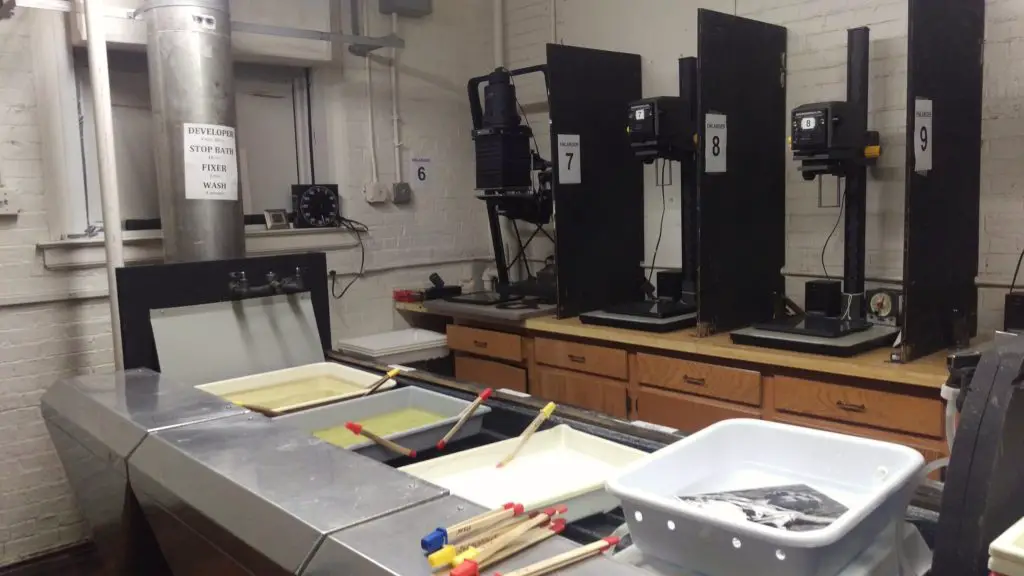
To start your darkroom, you need a take into account a few things: layout and equipment. The layout of your darkroom should be planned for ease of use and practicality. The essential layout of the darkroom should include two specific areas and proper ventilation.
The layout of a darkroom includes:
- Wet workspace – This side of your darkroom usually has a sink and all of the chemicals prepared for processing and developing photographs.
- Dry workspace – This area in your darkroom houses the enlarger, paper safe, and tools for exposing the photo paper.
- Ventilation – Because you are working with strong chemicals, it is important to make sure the space is well ventilated. This takes planning because you cannot simply open a window if the fumes become overpowering.
The following equipment is essential for every darkroom:
- Tongs – Tongs move the photos between each chemical tank. You don’t want to handle the photos directly as oils from your skin can cause imperfections. Also, the chemicals can be toxic with repeated use over the years, so using tongs allows you to avoid unnecessary contact with the skin. I recommend dedicating one tong to each chemical tray to avoid cross-contamination by writing the chemical name on each tong (For example, developer, stopbath, fixer, etc).
- Developing Chemicals – There are three chemicals used when developing your black and white film and/or prints: developer, stop bath, and fixer. If developing color then the chemicals will be different.
- Chemical Storage Containers – These are plastic or glass bottles that hold the darkroom chemicals when not in use. These are important because if you mix your chemicals then you’ll need a place to store them. The trick here is to get a large enough bottle to store enough to fill your developing tank or tray but not so large that they are hard to handle.
- Measuring Cups or Beakers – These are used to measure out chemicals when processing and/or mixing.
- Funnels – Plastic funnels to help mix and use chemicals. These are mostly used when pouring chemicals back into their storage bottles. Just like the tongs you will want to either wash them well between uses or just dedicate each funnel to specific chemicals by writing their name on them.
- Stainless Steel or Glass Thermometer – Measures the temperature of the chemicals when mixing chemicals and/or developing film or photographic paper.
- Developing Tank – Plastic or metal tanks with plastic or metal film reels that are used to load your film into that are light tight so you can develop your film by pouring film into. Normally these can do 35mm or medium format film. Specialty tanks or reels can accommodate large format film.
- Processing Trays or Tanks – These are usually shallow, plastic trays or tanks that hold the chemical solutions and are large enough to submerge your photo paper completely.
- Enlarger – This is used to enlarge the image from the film negative. They generally come in different sizes (for 35mm, medium format, and up), for different types (color or black and white), and different price ranges.
- Darkroom Photographic Enlarge Paper – Darkroom Enlarging paper is light sensitive and will react with the processing chemicals to create an image. They come in generally two types: black and white and color paper.
- Paper safe – A box used to store photographic enlarging paper that is easy to open, close, and retrieve the paper from.
- Safelight– A tinted red or amber light for black and white prints that allows for some visibility instead of complete darkness and does not impact chemicals or expose photo paper. If you are developing color paper then your darkroom will need to be completely dark when processing your paper.
- Timer – This is used to time how long you expose your photo paper and for keeping track of how long your images are in each developing chemical tray.
(Source: Set Up a Home Darkroom)
For more about the equipment needed in a darkroom for black and white film or color film see these articles: How to Develop Black and White 35mm and Medium Format Film At Home or How to Develop Your Own Color 35mm or Medium Format Color Film At Home
Pricing Out Building Your Own Darkroom
The most important part of building a darkroom is estimating your overall out-of-pocket cost. Depending on the market and demand, the prices for darkroom equipment are subject to change. Remember, used products are going to be cheaper.
Here are some average prices for darkroom equipment:
- Tongs (like these) – About $8
- Chemicals (Developer, Stop Bath, Fixer) – Around $56 combined
- Thermometer (like this one) – Around $10
- Chemical Container Bottles (like these) – About $33
- Measuring Cups or Beakers (like these) – Around $25
- Funnels (like these) – Around $6
- Developing Tank (like this) – About $34
- Processing Trays (like this) – Around $11, $44 combined (Usually 4 trays are needed for the 3 developing chemicals and 1 for water bath)
- Darkroom Enlarger (like these) – About $350 but can vary between $300 and $1,000+
- Black and white Photographic Paper (like this) – Around $40
- Paper safe box (like this) or paper safe bags (like this) – Around $60 for the paper safe box or about $30 for the paper safe bags
- Darkroom safe light (like this) – About $99
- Darkroom Timer (like this) – Mostly between $50 and $150
Everything you will need to get started above adds up to: $915.
Ways to Save Money on Your Darkroom
When you’re a photographer on a budget, saving money is important. From amateur to professional photography and whether you’re first starting or been printing for years, choosing cheaper options will not harm your photo quality.
You do have to consider what you are willing to sacrifice in quality or buy used. For instance, if you choose an older photo paper you found at a photo shop that was previously opened, you may notice differences and imperfections in these images compared to new photo paper straight out of the box.
Here are some money-saving tips to consider when building your darkroom:
- There may be Do-It-Yourself options for building the darkroom space. For example, using glass trays for baking instead of plastic photographic trays or tubs.
- Shop at a camera and print store that sells used products.
- Buy used equipment and products instead of new items. You can find these online on websites like Ebay.com. Or more shop more locally like Craigslist.org or Facebook Marketplace.
- Hunt for hidden gems at consignment, thrift, and resale shops.
- Ask around at your local print shop where to find cheap equipment.
- Shop online to compare prices and find product reviews easily.
Tips for Do-It-Yourself for Building a Darkroom
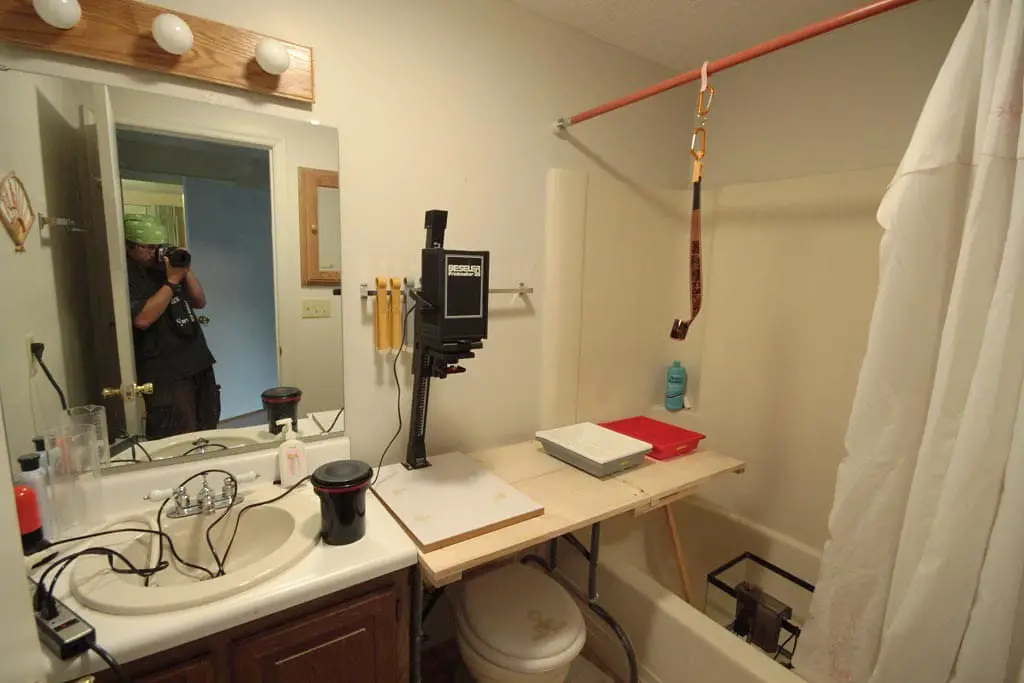
Using an existing space that can be outfitted as a darkroom will most likely be your cheapest option for an at-home darkroom. If you consider yourself quite handy and skilled, building your own darkroom may be the best option for you.
If you’re not so handy, you could enlist family and friends for help. Additionally, there are many more questions to consider before you begin the do-it-yourself journey of building a darkroom.
The following questions can help you decide if you have a room that can be outfitted as a darkroom:
- Does your space have a sink?
- If you need to install a sink, is there easy access to pipes and plumbing?
- Is the space well ventilated?
- Will you need to increase or improved existing ventilation?
- Is there enough space to house a wet and dry workspace in the same room?
- Does your space have workbenches or adequate countertop space for an enlarger and other tools?
- Will you need to build out or purchase workbenches?
- Does your space have access to electricity, lighting, and electrical outlets?
- Will you need to install more lighting and outlets or hire someone to do so?
Keeping these questions in mind will help you better estimate cost. If you need to hire a plumber to put in a sink for you, it will cost more than picking a space with an existing sink or installing a sink yourself if you’re skilled in plumbing. A tradesperson’s time can be expensive, but it may save you time and money in the long run.
Alternatives to At-Home Darkrooms
If you cannot afford to build your own darkroom, there are other ways to develop your photos. You can easily search for places with access to a darkroom using this website. Ask local artists or shop owners if there are darkrooms open to the public near you.
Places that commonly have darkrooms:
- Shared spaces or studios
- Makers’ spaces
- An art co-op or collaboration
- A local photographer willing to rent out space
- Explore options at a local college or university, which may give you access to a darkroom on campus if you ask
- Community darkrooms like Bushwick Community Darkroom in Brooklyn, NY or the Nashville Community Darkroom in Nashville, TN
Iford Pop-Up Darkroom
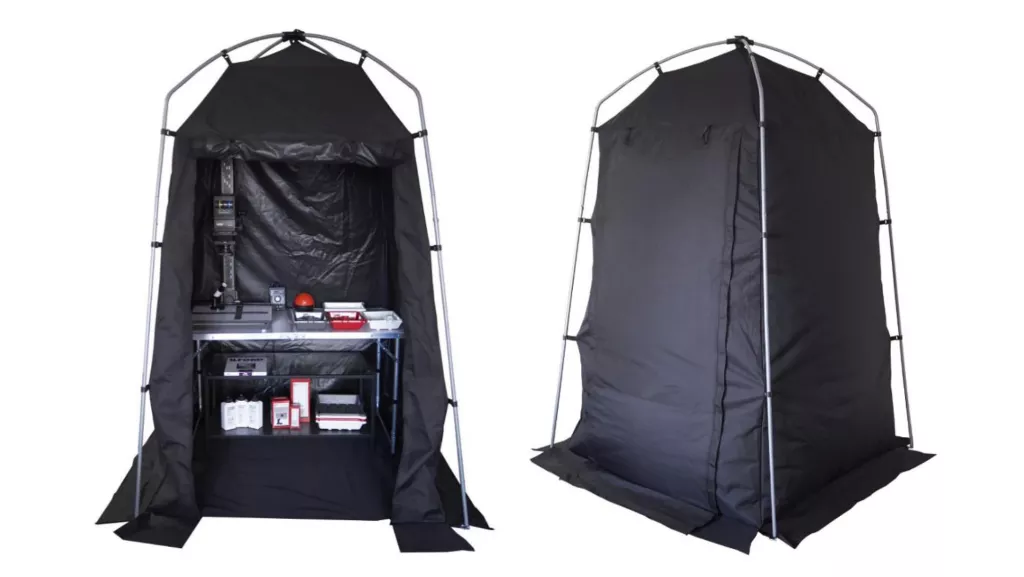
The darkroom company giant, Ilford Harmon, recently announced a new portable pop-up darkroom that is basically a tent that is light tight and can easily be set up and taken down in which you can make prints or develop film. The pop-up darkroom will be 7.2 ft (2.2m) tall and has a space inside of 4.2ft x 4.2ft (1.3m x 1.3m) which is big enough for a table for your enlarger and chemicals so you can develop film or make prints. It has a protective mat so it won’t ruin your floors if used indoors. It also has a built-in air vent at the top and bottom to help with air circulation.
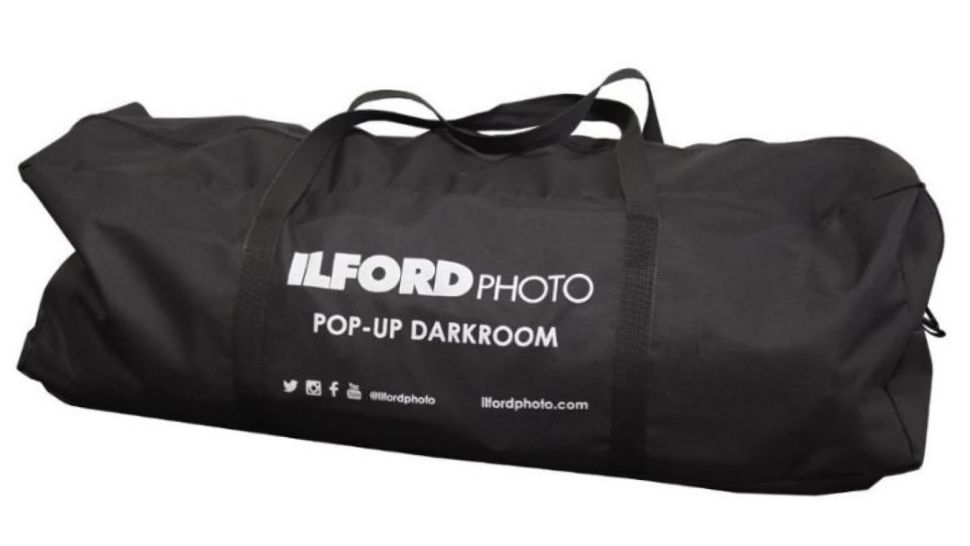
The entire thing fits in the supplied storage bag and measures 26.6in x 9.8in x 9.8in (68cm x 25cm x 25cm) and weighs 17.5lbs (8kg). The pop-up darkroom will go on sale in November of 2021 and will cost around $265 USD. See this website for more information and the cost.
Ilford recently also announced a darkroom starter kit in partnership with the company Paterson that offers everything that is needed to make a print, except for an enlarger and a safelight. This will cost around $150 USD and includes the following:
- 1 x Ilford Multigrade RC Deluxe Pearl Paper 8×10” 25 sheet box
- 1 x Ilford Multigrade Developer 500ml bottle
- 1 x Ilford Ilfostop 500ml bottle
- 1 x Ilford Rapid FIXER 500ml bottle
- 1 x Paterson 1200ml Graduate Cylinder
- 1 x Paterson 150ml Graduate Cylinder
- 1 x Paterson Chemical Mixer
- 1 x Paterson Thermometer Small (9”)
- 3 x Paterson 8×10 Trays (Red / White / Grey)
- 3 x Paterson Print Tongs (Red / White / Grey)
- 1 x Paterson Micro Focus Finder
In Conclusion
Building a darkroom is a rewarding experience and allows you complete control over your layout and equipment setup. An at-home darkroom that you build yourself will most likely be your cheapest option.
It may take longer, but searching for good quality used equipment will also save money. Take the time to create a space that serves your needs, and you’ll be much happier in the long run.